Skip to content
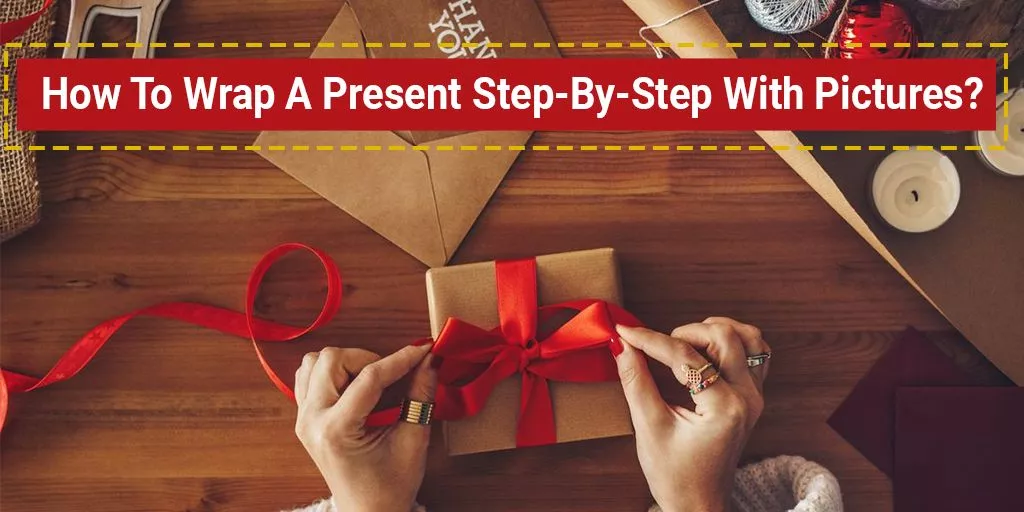
Beautiful packaging always grabs potential customers’ attention. You need to put in extra effort to wrap the products effectively. It is a fact that gifts always become more appealing with distinctive boxes to engage the customers. However, rectangular gift boxes with a layer of tissues contain soft gifts such as clothes. When you have chosen an elegant display, you need to choose the fabulous ribbon and paper to wrap a gift perfectly. Therefore, we are going to discuss gift-wrapping ideas step by step.

Covering The Box’s Perimeter With Wrapping Paper
You must unroll the paper on a flat surface such as a floor or table and cover the working surface with the decoration side. It’s time to use the tape roll and scissors as tools on the corners, restricting the paper from rolling back.
You need to put custom gift boxes on the opposite side of the papers. You need to move the box to make sure that the topside is aligned with the “wrong side” of paper. Now, it is necessary to ensure that the long side is parallel to cut the end of the paper. You must leave enough space on the short side of the paper to wrap the gifts. It is also a good approach to turn the paper 45 degrees to change the position for the shorter side and ensure that the product is safe within the tissue paper. Moreover, it is your choice to use a matter gift wrap tape to protect the lid of the box.
You need to fold the paper around the box to determine how much paper to cut. Now, you must align the cut end of the paper with the far edge of the gift box to ensure the cover of the perimeter. You can use tape or a ruler to measure the perimeter. Now, it is good to measure out 3 inches from the point to draw a line for the allocation of paper for the overlapping and folding.
You can use the scissors to cut the paper with the guidance of marked lines for the clean strokes. Now, wrap a box with paper for repositioning to cover 2 inches of the upward side to create a crease for corners with the use of the index finger and thumb. After that, you need to wrap the reverse side of your gifting paper across the custom printed gift boxes. Cut the remaining paper and use a tap to seal the box.
Folding Paper Across Corners and Sides
You need to fold the right and left flaps towards the center of the packaging box. In a standard box, you will get enough flaps on the bottom and top, whereas on the right and left of the short box. Now, it’s good to move the right and left flaps horizontally in the middle of the box to align with the corners. You need to use your thumb and index finger to crease the corners perfectly.
This one of the top brown paper gift wrapping ideas allows you to move the top flat across the box to ensure a magnificent crease with the top side of the box. Moreover, it must project the right and left sides of the folded paper. You need to turn the raw cut edge in a straight line to cover the box properly.
It’s time to wrap the bottom flap to merge with the side of the packaging box before using the different pieces of tape. Therefore, you need to ensure that the corners of the box are fully protected.
Decorating the Gift with a Ribbon Bow
You need to utilize the fabulous bow to decorate the gift because gift wrappers need crossword clues. Moreover, you can use plastic ribbon, fabric, or gift-wrapping ribbon across the long side of the gift box with the proper measurement.
You need to brainstorm ideas to choose the best ribbon to package your gift. A twine ribbon offers a rustic and elegant look to the Christmas presents wrapped in brown paper. This is how to use twine on presents. A metallic ribbon is an attractive addition to the pastel wrapping paper to make your gifts more appealing to the receivers. You must choose the longer length while using the curling ribbon to curl the bouncy ribbon easily.
It is crucial to put the down face of the box in the middle of the ribbon that shows the alignment with the waistline of the box. You must make sure that alignment is done on the joint point of the vertical and horizontal center of the box. It is necessary to cross and wrap the ribbon in the crosswise direction.
Make A Simple and Appealing Box With Knotting of Ribbon
You need to press the ends of the ribbon in a flat direction opposite to the box. It is essential to slide the ends with the horizontal and vertical center of the box. Now, the ribbon is available in a cross shape for the custom gift boxes with logo.
It is a fabulous approach to knot the ends of the ribbon in the middle to create fabulous packaging through the loose ends upwards and manage the length with an overhand note. You can follow this possess to try your own shoelaces.
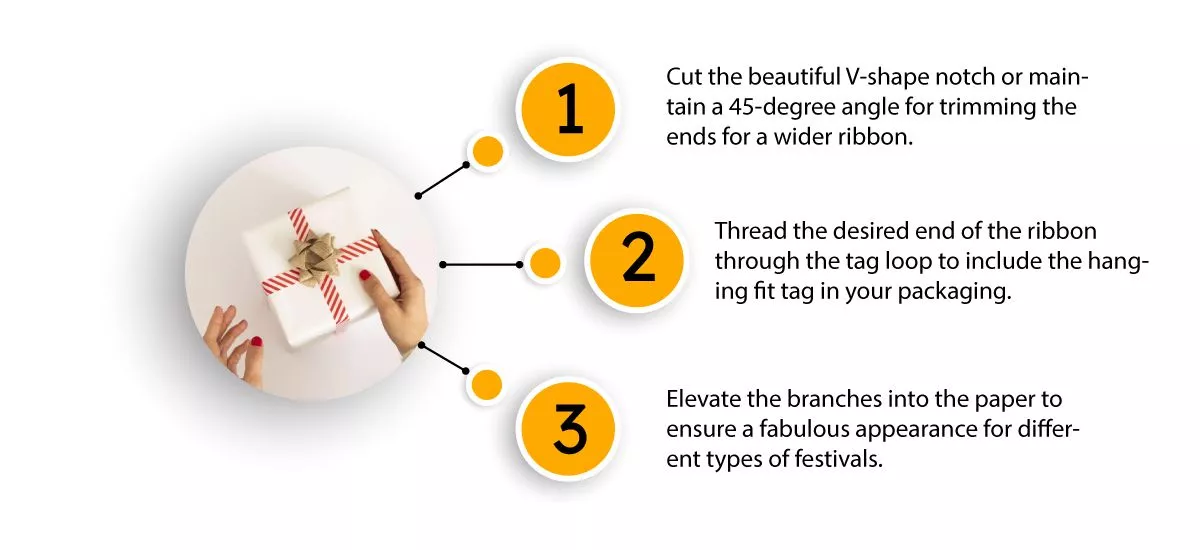
- Cut the beautiful V-shape notch or maintain a 45-degree angle for trimming the ends for a wider ribbon.
- Thread the desired end of the ribbon through the tag loop to include the hanging fit tag in your packaging.
- Elevate the branches into the paper to ensure a fabulous appearance for different types of festivals.
Conclusion
This step-by-step comprehensive guide helps you to wrap the products perfectly in the packaging boxes. The excellent wrapping also enables you to present your products effectively to a larger audience. You need to make sure that wrapping paper must cover the perimeter, sides, and corners of the packaging boxes. You can also get custom packaging from Silver Edge Packaging in accordance with your requirements.